
Good Morning my Beauties!
While we have been UBER busy with everything going on at our home
(you can read all about that HERE)
I thought I would show you a fun and easy way to make a FREE pallet art End table.

This right here is free pallet wood and other scraps from
out of my neighbors garage. They were happy to have me haul it away.
I knew just what I wanted to do with it.

Like I have said before...free stuff and power tools make my day...
I think my hubby was a little miffed at me because he wanted to build
the table. I usually give him some of these kinds of projects, but that's when he is pestering me to clean out the garage or something..It will usually get him off my case for a couple days...:)

So with a couple of cuts I started making my table.
I had watched my husband make our beautiful farm table for our fire pit last summer
so I knew kind of what I needed to do. You can see that table HERE.

First I made my apron and attached the sides together.

Then I added my legs.

Then I added the boards to the top.

then I just stained the top. I am painting the legs.
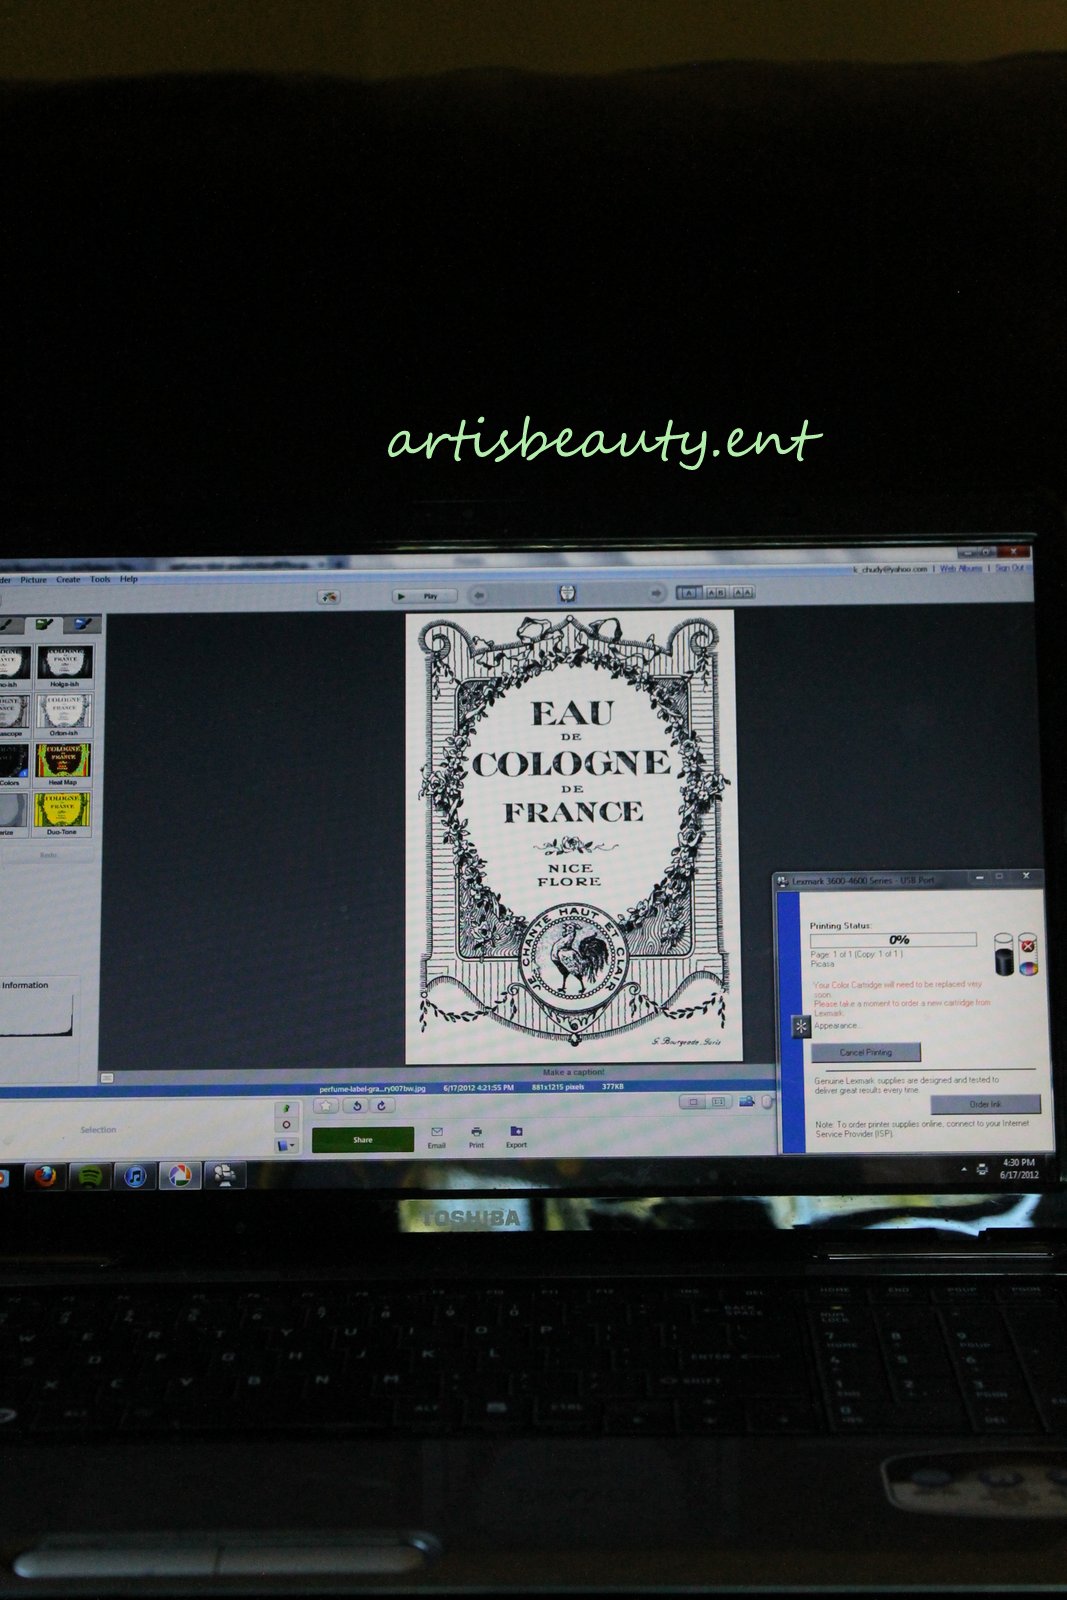
Now for the fun part.. freezer paper transfers.
First let me say how much I LOVE the GRAPHICS FAIRY since she supplies such amazing free graphics.
I went on her website there and got a nice FRENCHY one.

I printed my graphic out on my freezer paper in reverse. I have glued my freezer paper to card stock to make it easier to feed through the printer. Shiny side up so that you can transfer the ink.


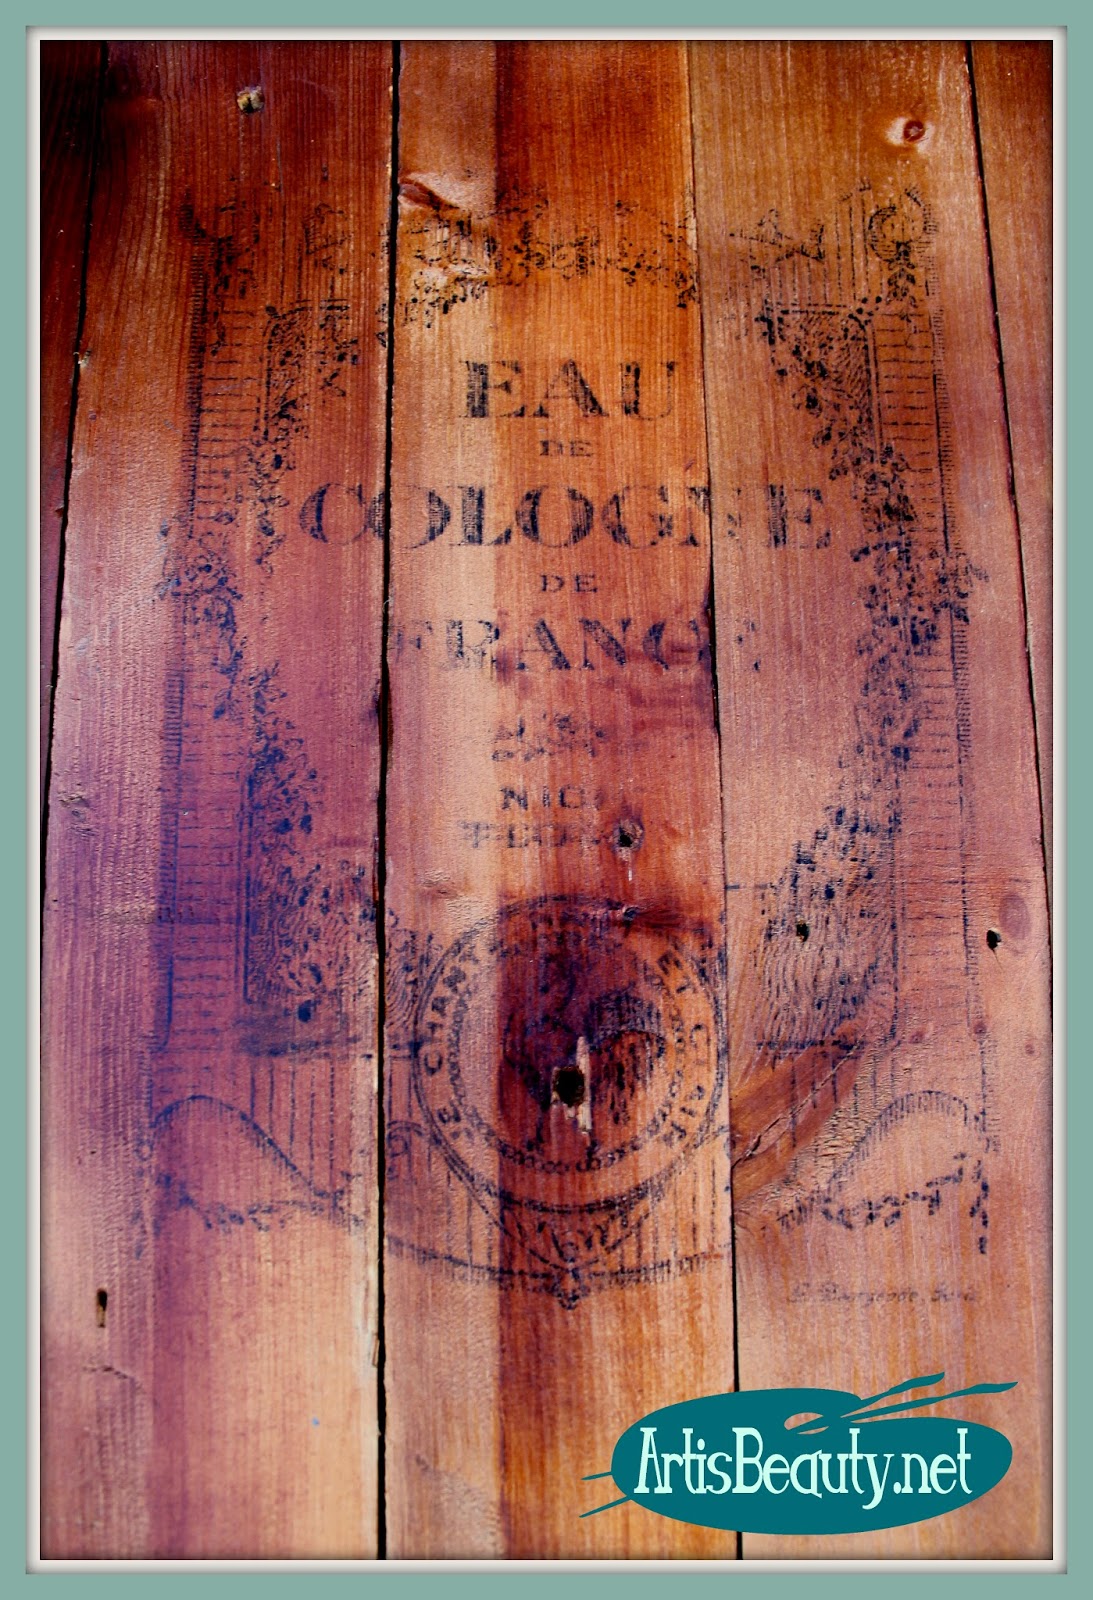
Now the fun part...again..:) Here is where I lay down my graphic and start burnishing it
with the back of a spoon. Now don't get frustrated with this. I hear from quite a few people that
they haven't had any luck, but practice makes perfect.

You can see here the ink transferring to the table. I had to lay it back down a couple times
to make sure it came through enough; you just have to be careful not to move the paper
or it WILL smudge.
VOILA!!! A beautiful FREE FRENCH table.
I painted the legs with some paint I had. It was a mix of some blue and cream color, to make a nice dusty blue.

I just love how it turned out; and the best part...FREE!!!
I hope you guys enjoyed this tutorial and find ways to make fun free stuff
for your home too.
Until next time, go make someones day BEAUTIFUL.

I'd ask you to marry me, but... we're both taken, I love a woman who can use power tools. BRAVO. Love your table. I'm not so good with the transfers, I tend to smudge, but I'm working on it. Thanks for your tutorial.
ReplyDeleteFun! I'm excited to find your blog. Will be following :)!
ReplyDeleteBobi
www.bobijensen.com
Very cool! I love it! Found you through Sawdust Girl's Sawdust Throwdown...
ReplyDeleteCher @ Designs by Studio C
http://designsbystudioc.com
Very cool. Don't you love to make something beautiful from that pile of wood? Great job. Saw this on Sandra's linky party.
ReplyDelete1. I don't think I've seen the freezer paper transfer onto wood before. Cool. I'll have to try that.
ReplyDelete2. I love that you built your table in a dress.
3. I can't see it completely...but I think I love that dress.
This is such a cute little table, nice job!
ReplyDelete