Showing posts with label chair makeover. Show all posts

Friday, May 20, 2016

Antique Round Pedestal Table and Mismatched Chair Makeover.


This post uses affiliate links to help you find the products I trust and love
 Welcome back my Beauties!
I have a quick little makeover for you today.
I have been so busy with graduation stuff for my daughter,
but I managed to quick work a small project in. 
I am going to show you how I made over this  Antique Round Pedestal Table and Mismatched Chair.


I picked up this table at goodwill for about 40 bucks.
It was in pretty good shape but the legs that aren't showing had some significant damage.

I knew I wanted to keep the top just because I love the old wood and it was in great shape so I decided to pick a color that would compliment the wood color. 


 I chose General Finishes Charleton Blue for the base of the table and the chairs.
I had picked up this pretty fabric for another project and I just loved it and the color went with it perfectly.
I painted the base of  the table and the chairs and recovered the seats.

I can't believe what a difference painting those old beat up ugly chairs made.
They had been sitting in my garage for ages waiting for a makeover 

 After painting the base and the chairs it brought this miss matched set all together.


The table got to keep a bit of its character and age with the original top and the base got a nice clean coat of paint.  I love how it all came together.
I still can't believe this is the same set.
Now I have to get back to running around like a chicken with its head cut off as I get ready for my daughters graduation..Oh and did I mention all 4 of my kids have had STREP within the last week..???
Its been fun times here at the Art is Beauty house! 
But hopefully now they are all on the mend and we can get back to our NORMAL crazy :)
Until next time,
Have a BEAUTIFUL day!

Tuesday, February 2, 2016

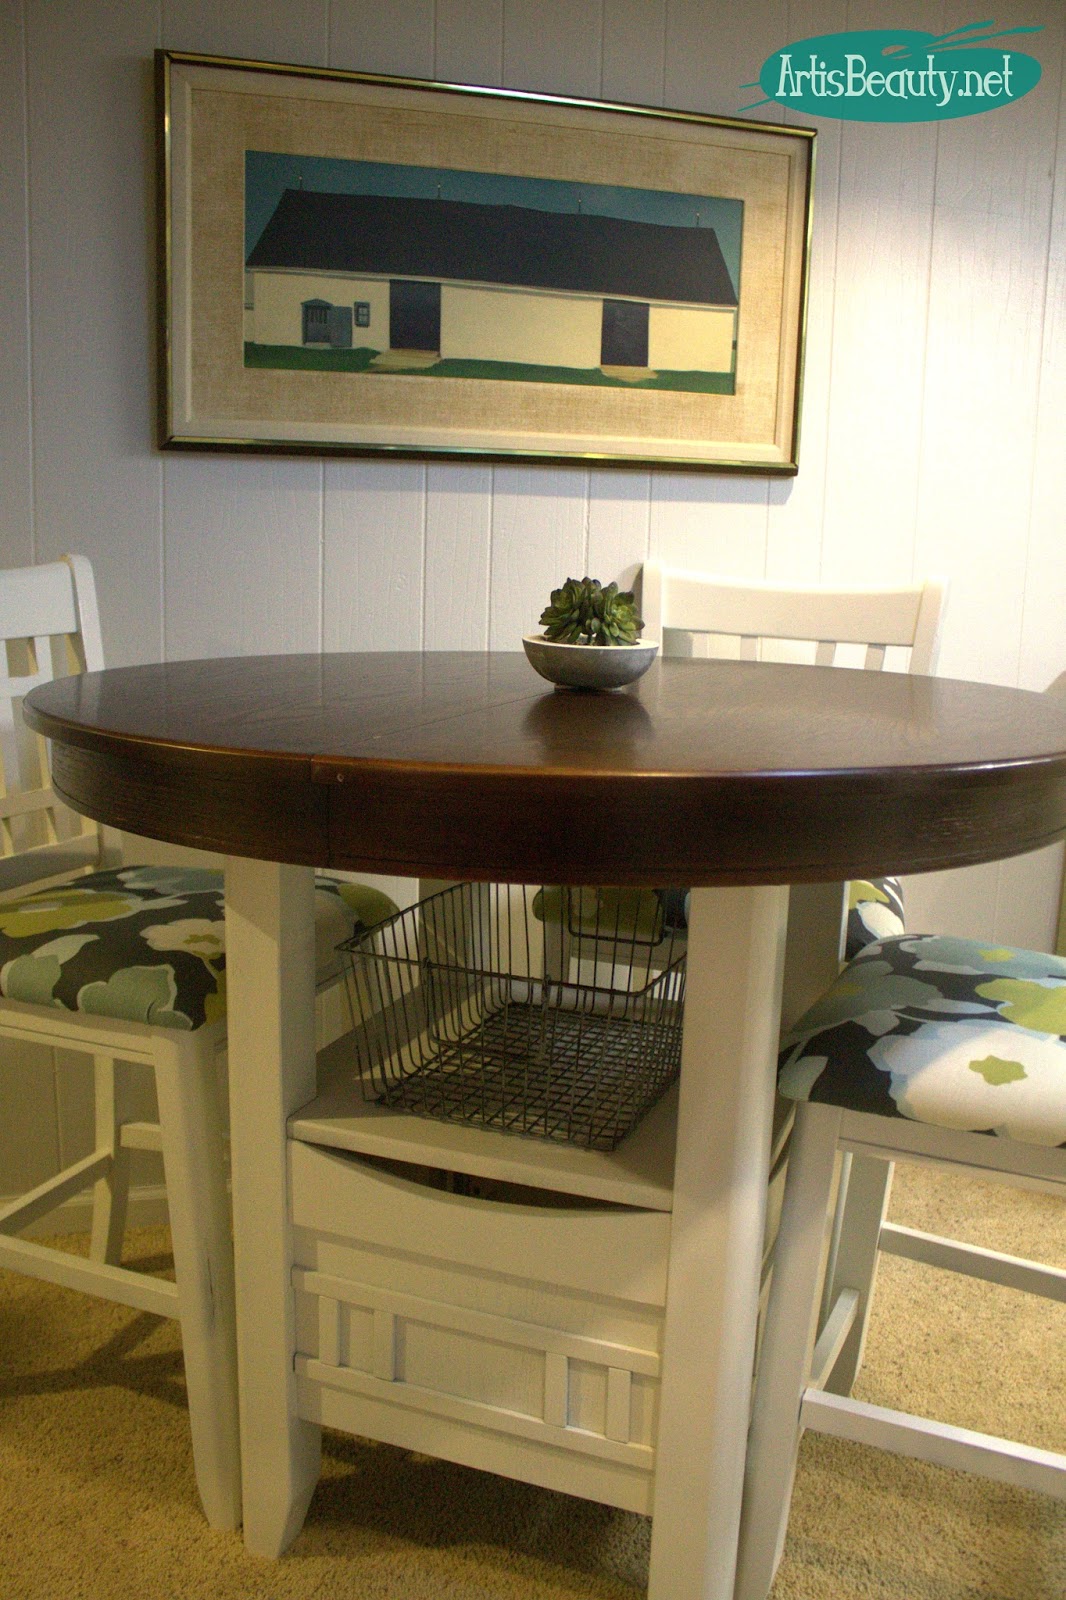
Fixer Upper style Painted Pub Table Makeover


 Welcome back my Beauties!
This makeover has been a long time coming.
As you can kind of see from the little picture I completed this way
back when the grass was still green and there was none of that white stuff on the ground.
Back in OCTOBER..YES....OCTOBER I made over my basement which you can see HERE
and part of that makeover was this Pub Table set.


The ever awesome Adrianne from  Happy Hour Projects
sweetly messaged me one day saying she was cleaning out her garage and if 
I wanted to come pick it up, it was mine...
I heard angels...do you??? ..:)
It was this point that I was deciding what I was going to do to the basement .
My idea to have a table down there for the kids to do homework instead of sitting at the kitchen table yelling at the other kids for bothering them while they worked was formed.


First things first, the table top needed to be sanded and stained.
I did that and sealed the top with poly so that it could take the abuse of the kids doing homework 
and eating at it. (I forgot to take pictures of that part..but hey..I had like 5 projects going on at that time)
 The next part was the fun part for me.
 made quick work of spraying 4 of the chairs with some antique white enamel paint.


While the chairs were drying and in between coats I quick ran to Joann fabrics and bought this awesome and fun floral graphic fabric.
I used my staple gun to attach it to the old chair seats.

Once everything was dry, it was time to put everything back together again.
I even added a little industrial wire basket
 underneath should the SPIRIT ever move them to put their crap away!
(let me just say..its been a few months and the only thing in that basket is my HOPES AND DREAMS of them putting their stuff in their!) :)

I will say I am thrilled with how it all came together and how nice it is to have the kids do their homework downstairs and not have as much paper work dropped on the kitchen table as they walk in the door from school.
Plus on Movie nights it great to have the kids be able to eat at a table while watching a movie as opposed to them sitting on the couch dropping food everywhere!
I am so thankful to Adrianne for her gift of her old table.
It has served a great service to our family and I couldn't  be happier.
NOW, if I could just get them to use that dang basket!
Oh well...you win some you loose some.
I hope you all enjoyed this makeover even if it took me a few months to getting around to posting about it!
Until next time,
Have a BEAUTIFUL day!

Wednesday, December 30, 2015

Minted iKAT Fabric Simple Chair Makeover


 This is a sponsored post and I received product in return for this post, but all opinions and mine and true.


 Welcome back my Beauties!
I know we are screeching into the end of the year like Gang Busters.
That being said I still wanted to show a small makeover I completed, this last month.
It was nice because it didn't take much to transform this old tired chair.
 I started with this beat up yellow painted chair. 
It had seen better days.
I took the seat off before I remembered to take a picture.
(what could I say, I was in THE ZONE)

and gave it a couple coats.
When it was dry I used some Clear wax and some dark wax to finish off the piece and buffed it up.

 Now it was time for the really fun part.
The Fabric.
I fell in love with this I-kat Fabric from Minted and I knew it would be the perfect
thing for this chair.
I loved the simple geometric pattern and color of this fabric.
One of the things I LOVE about Minted is they  believe that great design lives and thrives in the hands of independent artists that people do not have access to through traditional retailers. Minted uses technology to allow consumers to discover great creative talent, making Minted a place where artists can learn, gain exposure, and build their businesses. Minted is a design marketplace. They source creative content from a global community of independent artists, then sell the best content in the form of art, home décor, and stationery, directly to consumers.
Its why I love all the fabric choices they have.


I recovered the seat and affixed it back to the chair and she was ready for her closeup.


I love how it turned out and gave this vintage chair a little more modern flair!
Thank you so much for stopping over and
I hope you have a BEAUTIFUL new year!
I will be back NEXT YEAR...:)
with even more makeovers!

Friday, October 16, 2015

From GROSS to GRAND! Upholstered Chair Makeover


 Hello again my BEAUTIES! 
Now I know I promised to show you my kitchen makeover this week, but 
the time has gotten away from me and I haven't had time to do all the post editing 
and everything that it entails so I thought I would hold you off with something a little different
for me, FURNITURE wise.


 One day at Goodwill (this is how most of my stories begin LOL)
I saw this chair sitting there. 
The arm were as you can see DISGUSTING!
I walked past the first time because I couldn't get past the arms.
But then something called me back.
OH, I know what it was! 
THE PRICE TAG!
It had a price tag of $10 on it.
Our thrift stores and Goodwills NEVER sell anything for $10.
So I circled around the chair again and gave it another look.
The rest of the chair was in perfect shape.
BUT OH, those arms...YUCK.
I contemplated again, with a running dialogue in my head.
"it's only 10 bucks"
"but what if you can't get that nasty stuff out?"
"Still; its only $10 bucks"
"but I could buy a bottle of wine with $10 bucks!"
(just kidding I just thought of that argument)
"well if it doesn't come clean you can always PAINT IT"
"dang girl, you are right; I could totally paint it"
YOU GET THE DRIFT :)
So I BOUGHT IT! 
I mean seriously..You saw the previous train of thought!
It was a no brainer. :)
I brought it home and grabbed my steam cleaner and cleaned the HECK out of it!
I mean...I worked up a sweat steam cleaning that sucker.
As you can see; it came out awesome.
It was so clean it looked brand new.
But you know me, NEW is boring.:)
I wanted it to have a little more UMPH!
 I decided this would be the perfect place to use some of the upholstery tacks I had picked up at my craft store.
I had a coupon too, so that made them even cheaper.
About $1.40 For a package and I use about 2 packs.
Basically using my finger width as a measurement for spacing I just lightly tacked them in place
around the fronts of the arm of the chair.
 I finished up one arm and moved on over to the next one.
I still can't believe that this is the same chair.
I am so happy I took the chance on it, and that it payed off.
I am also glad I went with the decorative tacks,
or else I may have ended up selling it at my booth because it was too BORING for me. :)
Now I love it! Can you even believe the difference?

So next time you see that piece that you just aren't sure about,
do as ABBA tells you and "take a chance"
:) 
I am so glad I did!
Until next time,