Good Morning my Beauties.
Here is a quick makeover I was able to accomplish this week.
(I have told many people since the weather has been unseasonably warm
that I wasn't gonna stop painting till the winds changed)
They still haven't so I am still painting...and bringing my green scrub sponge in the shower with
me to get all the paint off of me; yet somehow still missing my elbows EVERY SINGLE TIME..:)
(I also found out via Facebook, that I am not the only furniture painter that brings a scrub sponge in the shower with them....Hey for once I am close to normal)
But I digress :) On to our makeover.
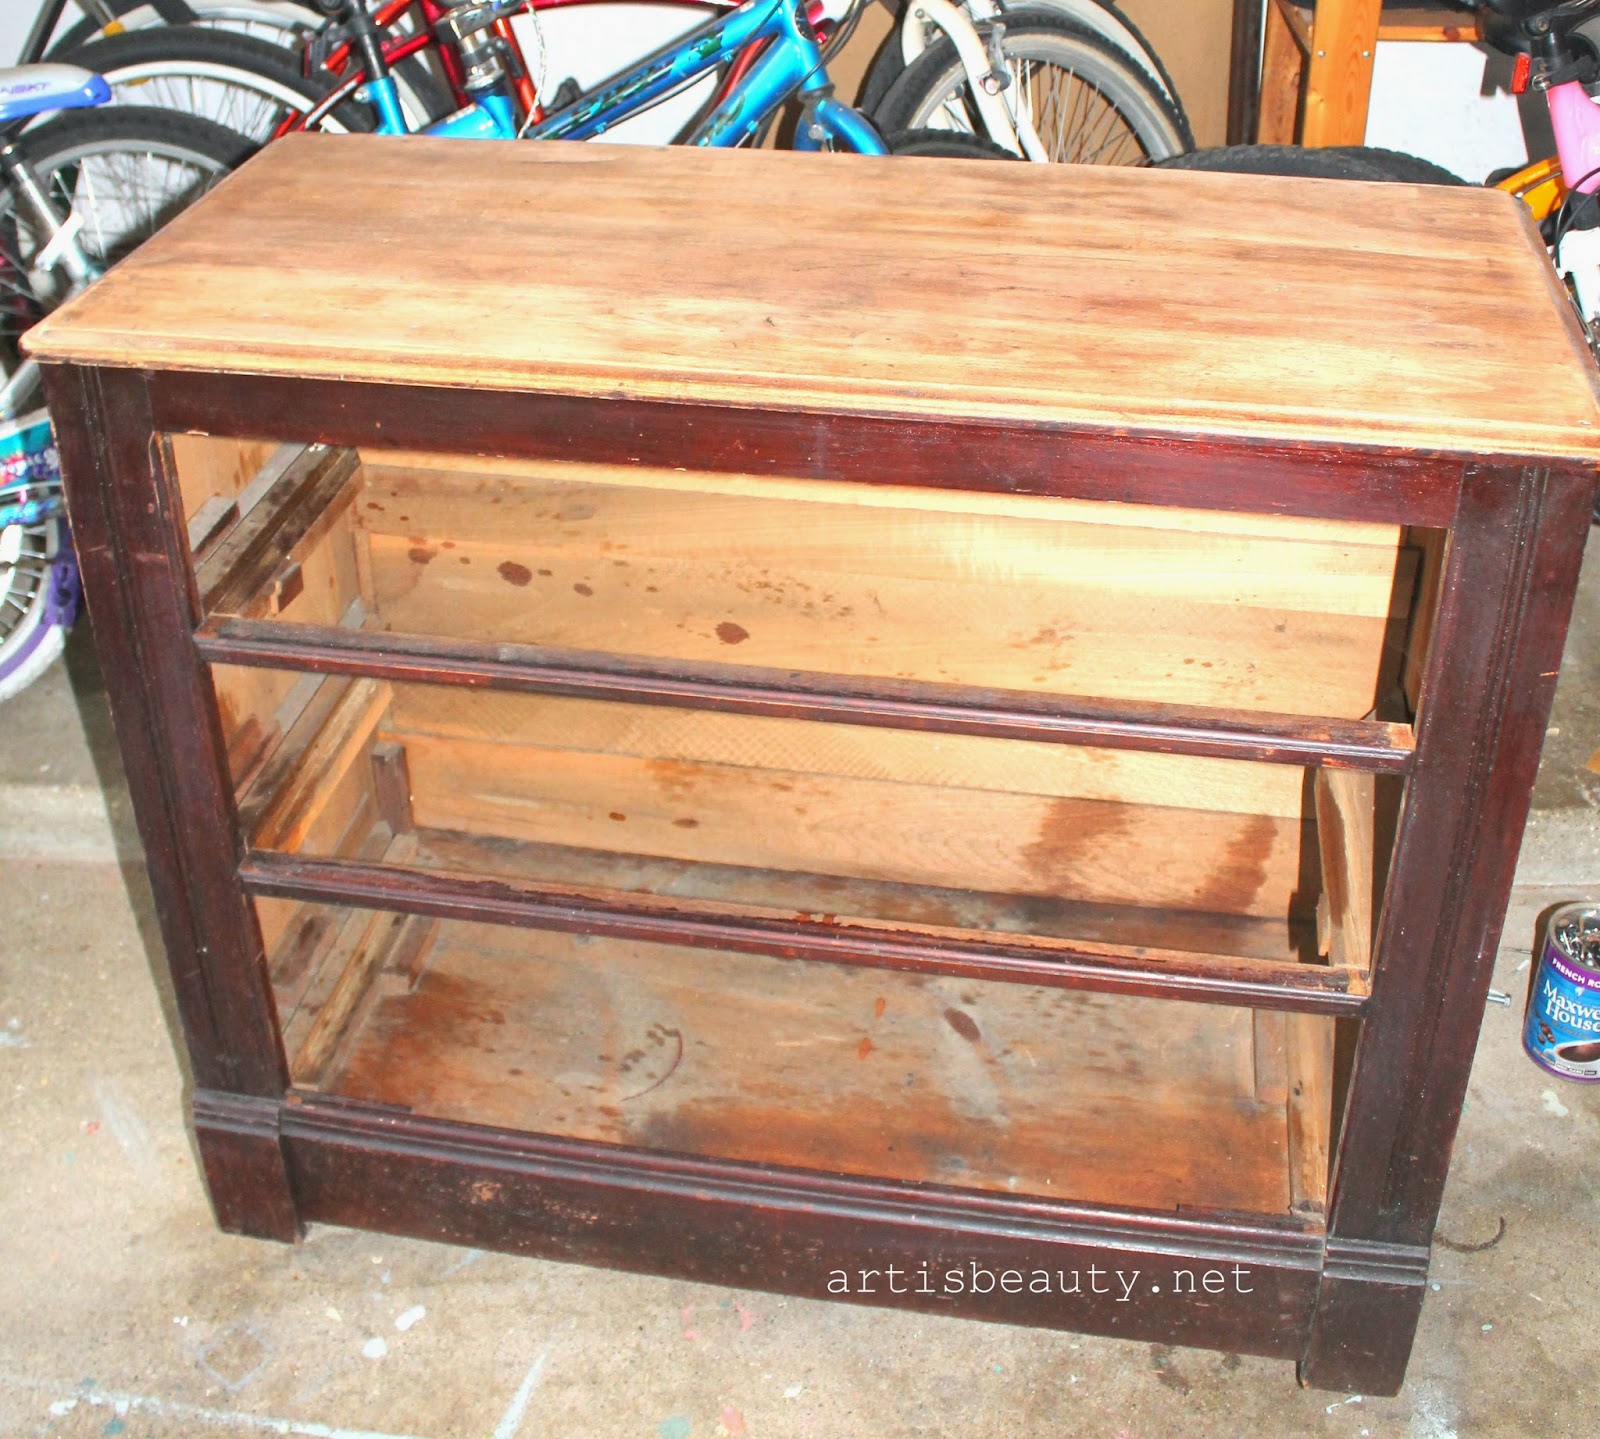
I picked up this old dresser at Goodwill.
I loved the style of it
but it was in VERY VERY rough condition.
I will not even begin to defend my need to paint it to all the wood lovers out there.
(well maybe a little)
I didn't even bother to take pictures
of the sides of this thing and how bad they were because as I said before...I was in a painting ZONE..
Pictures were not important..Painting was...
Every single Original knob was BENT...I mean BENT..LIKE SIDEWAYS...
I don't know if the original owner used this dresser as batting practice or what, but I have never seen it where all the knobs were destroyed..not one that was salvageable.
The top you can see was awful,
I had palm sanded it..but it still hadn't taken out the names that had been carved DEEP into the top.
It had to be belt sanded and there are still some signs of names that couldn't be sanded out.
I didn't even bother to sand on the rest of the sides.
Names grooved... sides coming apart...I had to basically put this dresser back together..
not to mention what was hopefully either dried candy or glue (please GOD don't let those have been boogers I had to scrape off..LOL This by the way would not be the FIRST TIME I have had to do that)
Once all that was taken care of and the top sanded I could get to painting.
I stained the top,
and mixed up a custom blue paint for the base.
I had thought about leaving the little accent squares uncovered in the middle but it looked
strange so I painted those too, knowing I would probably add something along the way.
and I did...:)
I have this old clock parts stencil so I quick added
that to all the middle sections of the drawers.
It added just the right amount of detail I was looking for.
I also went into my salvage drawer to find old handles for this dresser.
As is the USUAL for me, I had saved these old pulls off another project.
I had exactly SIX of them.
Just the right amount for this project....I LOVE IT WHEN THAT HAPPENS!
I loved that the round pulls went along with the round clock faces, kind of pulling it
all together....get it.....PULLING!!! LOL I crack myself up! :)
So there you have it.
What once was ready to be put in the furniture recycler (goodwill puts wood furniture in a chipper if it doesn't sell) Can now hopefully go make a nice addition to someones home.
I hope you enjoyed this latest makeover as much as I enjoyed doing it.
Until next time,
Go make someones day BEAUTIFUL!
http://www.thegoldensycamore.com/2014/10/inspiration-gallery-link-party-1016.html
http://www.redouxinteriors.com/2014/10/redouxinteriors-handmade-hangout-week-17/
http://shabbyartboutique.com/2014/10/shabbilicious-friday-link-party-70.html
http://www.redouxinteriors.com/2014/10/redouxinteriors-handmade-hangout-week-17/
http://shabbyartboutique.com/2014/10/shabbilicious-friday-link-party-70.html
 http://diy-vintage-chic.blogspot.com/2014/10/fridays-five-features-no-62.html
http://diyshowoff.com/2014/10/19/diy-party-27/
http://www.sillypearl.com/2014/10/project-inspired-link-party-week-89.html#
http://liverandomlysimple.com/totally-terrific-tuesday-link-party-4/
 http://meeganmakes.com/inspiration-monday-party-3/
http://akadesign.ca/weekend-retreat-link-party-91/
http://www.findingsilverpennies.com/2014/11/silver-pennies-sundays-link-party-features-93.html
http://diyshowoff.com/category/other/that-diy-party/.


0 comments:
Post a Comment