Showing posts with label CHAIR. Show all posts

Friday, March 31, 2017

Roadside Rescue Free Russell Woodard MCM Patio Chair set Spray Painted Makeover


(hitting replay of one of my favorite makeovers that I kept) 

Hello again my Beauties!
(UPDATE...thanks to an awesome reader I found out these are Highly collectible
 Mid-Century Modern SPUN Fiberglass Russell Woodard Chairs....I am so glad I kept them) 
I have been meaning to show you this makeover for over a month now.
I was going through some pictures on my computer and realized I never showed you
this makeover.
 One night over a month ago on a walk we came across three of these chairs for free on the side of the road.
Well...as a SUCKER for FREE furniture you know I picked them up.
The one above went to my booth but the other 2 were going to be mine.
They just needed a little WORK.
 Here is a close up of the wicker and cushions before...
They were kinda....well...YUCK.
The cushions were dirty and out dated and the wicker had lost parts of its old paint job,
but the chairs themselves were oh so COMFY and I love the cool style!
 
I quickly gave the chairs a couple coats of Black Spray Paint and got to
work on the chairs.


 Now I tried to be FANCY with the cushions and use this fancy dancy special spray paint...
Well, as you can tell..NO, it didn't work.
The plastic mesh type material was no match for the expensive fabric spray paint.

So I went with my favorite standby!
I grabbed a couple cans of my favorite Rustoleum spray paint and gave the cushions 2 coats.
It worked perfectly.
I mean..why had I gone through all that trouble before I tried good old spray paint?

 The nice part about forgetting to post is that I can tell you..
the spray paint has held up FABULOUSLY. 
No flaking..No Peeling...They look as good as they did the first day.
I love them and we have been putting them to good use while
we FINALLY enjoy some nice weather here in Michigan!
Until next time;
go make someones day BEAUTIFUL!

Wednesday, November 18, 2015

Beat up MCM mini Ottoman Makeover


Hello again my BEAUTIES!
I have been working like crazy on multiple projects and I ALMOST 
FORGOT to show you this one.
I picked this ottoman up at the local thrift store for a couple bucks to go with 
the GROSS TO GRAND CHAIR makeover I had recently done.
I loved the MCM legs on this piece I was was hoping underneath this sheet like recover there would be the fabulous original 
material in PERFECT condition.

I got half of my wish.
It had the original material on it, BUT, EVERY SINGLE SEAM
was torn.
I literally barely had to touch it and the whole top piece pretty much fell off.
So on to Plan B.
RECOVERING.

Since the batting was pretty compressed, so I decided to add some extra batting to fluff it up a little,
since this piece would be staying in our home.
I used my staple gun to attach it and then it was time to use some fun fabric to recover it.

Since I wanted it to match up a little bit with the chair I decided to accent around the edges with the same upholstery tacks that 
I used on my chair.

 You can see here its in its new SPOT in front of  my
Gross to Grand Chair Makeover
The kids love it to prop up their feet on when reading and working on their computers.
I have to say I am pretty happy with it myself.
It doesn't take up too much room and still allows us to 
"PUT OUR FEET UP" and feel at home.


I am pretty happy with how easy this was to do and how adding the fun little 
upholstery tacks really upped the fun on this piece.

I am so glad I remembered to show you this fun little makeover.
Until Next time,
Go Make Someones day,
BEAUTIFUL! 

Friday, October 16, 2015

From GROSS to GRAND! Upholstered Chair Makeover


 Hello again my BEAUTIES! 
Now I know I promised to show you my kitchen makeover this week, but 
the time has gotten away from me and I haven't had time to do all the post editing 
and everything that it entails so I thought I would hold you off with something a little different
for me, FURNITURE wise.


 One day at Goodwill (this is how most of my stories begin LOL)
I saw this chair sitting there. 
The arm were as you can see DISGUSTING!
I walked past the first time because I couldn't get past the arms.
But then something called me back.
OH, I know what it was! 
THE PRICE TAG!
It had a price tag of $10 on it.
Our thrift stores and Goodwills NEVER sell anything for $10.
So I circled around the chair again and gave it another look.
The rest of the chair was in perfect shape.
BUT OH, those arms...YUCK.
I contemplated again, with a running dialogue in my head.
"it's only 10 bucks"
"but what if you can't get that nasty stuff out?"
"Still; its only $10 bucks"
"but I could buy a bottle of wine with $10 bucks!"
(just kidding I just thought of that argument)
"well if it doesn't come clean you can always PAINT IT"
"dang girl, you are right; I could totally paint it"
YOU GET THE DRIFT :)
So I BOUGHT IT! 
I mean seriously..You saw the previous train of thought!
It was a no brainer. :)
I brought it home and grabbed my steam cleaner and cleaned the HECK out of it!
I mean...I worked up a sweat steam cleaning that sucker.
As you can see; it came out awesome.
It was so clean it looked brand new.
But you know me, NEW is boring.:)
I wanted it to have a little more UMPH!
 I decided this would be the perfect place to use some of the upholstery tacks I had picked up at my craft store.
I had a coupon too, so that made them even cheaper.
About $1.40 For a package and I use about 2 packs.
Basically using my finger width as a measurement for spacing I just lightly tacked them in place
around the fronts of the arm of the chair.
 I finished up one arm and moved on over to the next one.
I still can't believe that this is the same chair.
I am so happy I took the chance on it, and that it payed off.
I am also glad I went with the decorative tacks,
or else I may have ended up selling it at my booth because it was too BORING for me. :)
Now I love it! Can you even believe the difference?

So next time you see that piece that you just aren't sure about,
do as ABBA tells you and "take a chance"
:) 
I am so glad I did!
Until next time,

Friday, September 18, 2015

Fab Flippin Furniture Contest GEOMETRIC Makeover

 Good Morning my Beauties!
Its time for another Fab Flippin Furniture Makeover.
 This month at the Fab Furniture Flippin' Contest, it's all about "Geometric Design".
So welcome September and what better way to bring in one of my favorite months than to have General Finishes sponsor it!!  
For this months makeover I decided to take this plain jane chair and Jazz it up with some Geometric Fabric and some awesome General finishes  
Somerset Gold Milk Paint.

General Finishes makes painting not only fun, but if you are new to painting or their line, they helpful videos on YouTube to help guide through the process.  I love that if I feel stuck or if someone asks about a process, I can go right to their General Finishes YouTube channel to watch a step by step guide!!


  You can see here that I started with a plain and simple old chair. the chair was structurally fine but had some scratches and grooves in the wood. 
I lightly sanded those down and got to painting with my gorgeous Somerset Gold Milk paint.


 once I gave the chair two coats of paint I removed the seat and started recovering it using some fun geometric fabric.
Once I recovered the seat I screwed the seat back on.
I love how the color of the paint and the fun fabric transformed this once plain and boring chair into 
something fun and funky!

I hope you enjoyed this latest makeover and 
I hope that you check out some of my friends who are participating in the Fab Flippin Furniture Contest. 


Each month the group of creative bloggers compete in this fun furniture makeover contest by incorporating a monthly assigned theme with sponsored products. This month the theme is "Geometric Design" sponsored by General Finishes. The winner gets a full case of General Finishes in quarts or pints! Now that's a whole box of fun!


The September contest was launched by our two featured hosts: 
Lynn of Fern Avenue 


Thank you to Lynn and Carrie, and our Cohosts: 
Charlotte of Ciburbanity 
The Fab Furniture Flippin' Contest is open only to the entrants who have signed up through the group Facebook page. If you are an active, furniture flippin' blogger, and you'd like to participate in future contests, we'd love to have you! Please contact us at info@fabfurnitureflippincontest.com to find out how!
 I was compensated with one complimentary quart of milk based paint from General Finishes. My designs and opinions are solely my own.

Tuesday, July 21, 2015

DIY Thrift Store Dining Chair Upcycle

Hello again my BEAUTIES!
Oh how I have missed you!
We had a fabulous Hiking trip in Maine at 
Acadia National Park and it was
so hard to leave.
But now that I am home I am back in the saddle
and ready to show you the latest makeovers!
I have a new post for Furniture.com up right now where
I show you how to DIY Upcycle an old dining room chair.

I will be back later in the week with another fun makeover!
I can't wait to show you!

If you guys want I can also do a post about all the gorgeous beauty of Acadia 
National Park and some Tips for the area.
Let me know..and if you want it I would be glad to post about it..
Until next time..
Go Make someones day BEAUTIFUL!

Thursday, February 19, 2015

Simple Chair Makeover Themed Furniture Makeover

Hello again my Beauties.
I have a super simple makeover for you guys today.
I am part of a Themed Furniture Makeover Group
and this months Theme was "CHAIRS"


Luckily, since I have been so busy I had done a chair way back in the Fall
and NEVER had a chance to post about it.
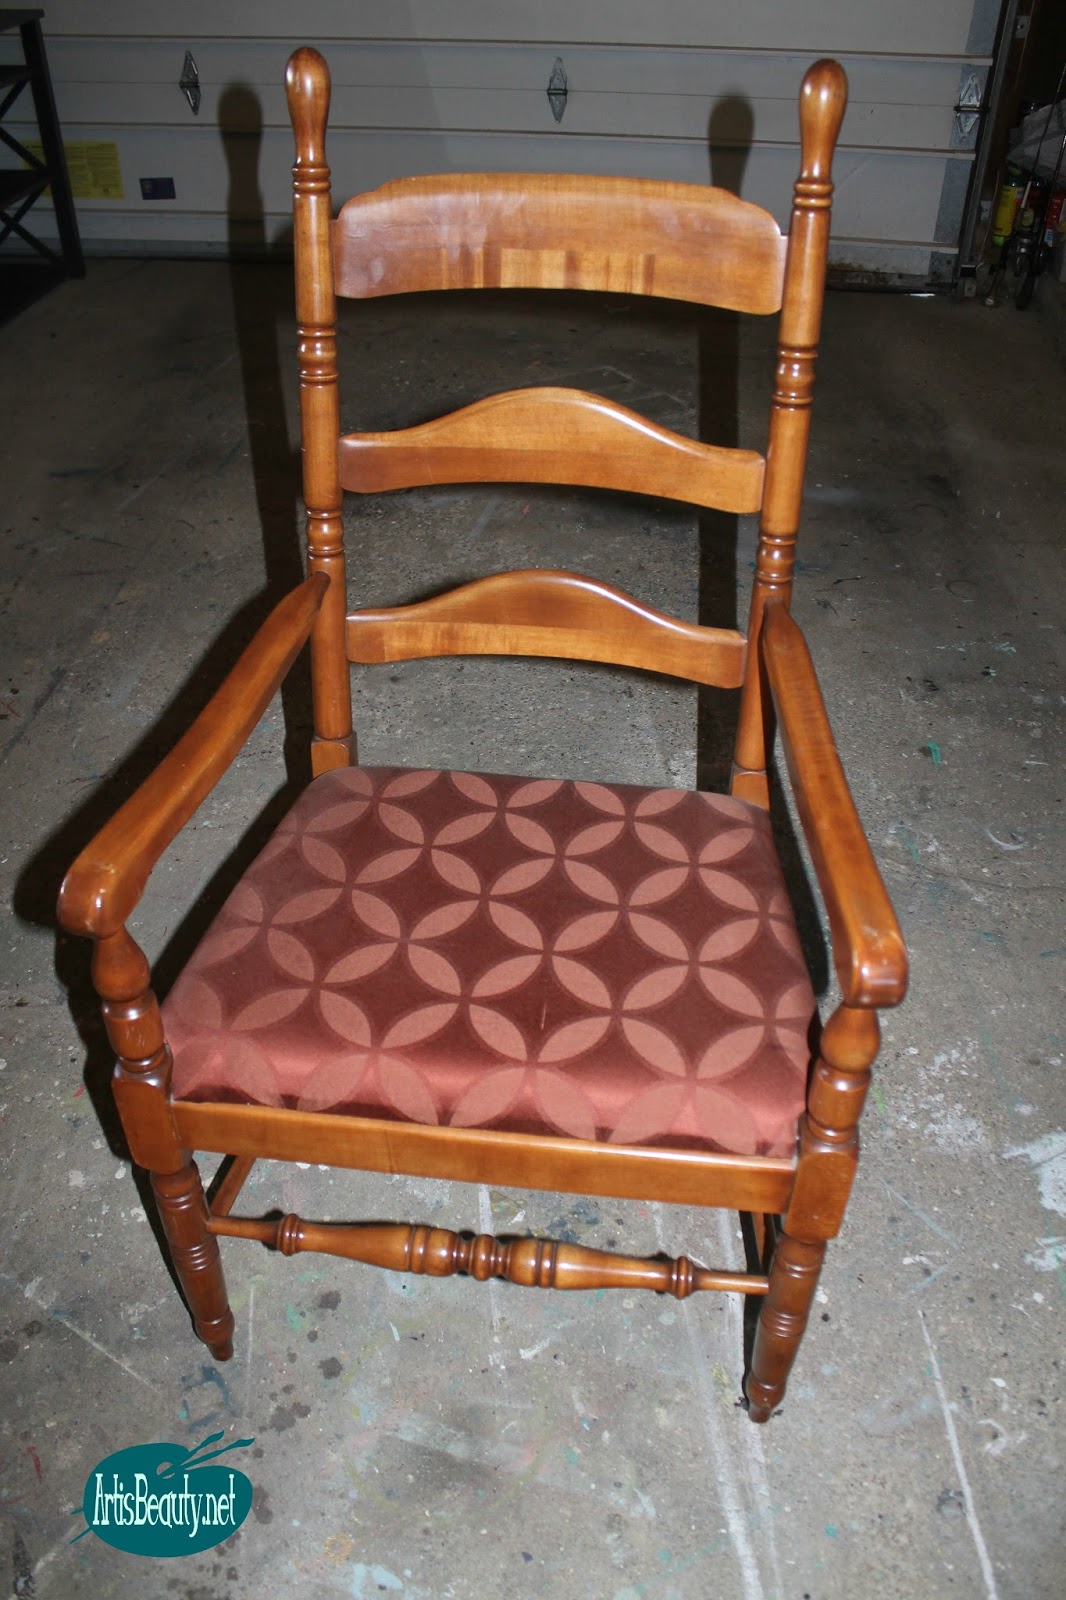
I had grabbed this chair at a local thrift shop for a few bucks.
I loved the style of it but the legs were pretty beat up
and the fabric was ....well...you can see...
It wasn't FABRIC...It was plastic.

I pulled off the PLASTIC cover and removed the seat and decided I was going 
to use a swatch of fabric that I had grabbed in a pile of scraps I bought.
My Creme De Menthe color from Maison Blanche was the
perfect match for the fabric I chose.
I recovered the seat and got to painting.

I painted the chair with two coats and a simple clear wax .
I buffed it up and she was ready for her seat to be put back on.

You can see the fabric here.
It cost me less than a dollar.
It was like it was made for this color.

I love how the soft blue green pulled out all the colors in the fabric.

It really rejuvenated the chair and gave 
it a fresh new look.
I miss seeing my patio....I looked back at these pics to start editing for the 
project and realized its been months since it hasn't been covered in snow.
I can truly say I am OVER winter...:)
But if you are like me and still coupled up you can be sure
to spend some time 
checking out the chair makeovers my friends have done!

Also be sure to stop over to the Be~YOU~tiful LINK party 
and link up your Beautiful projects.
You can link up HERE
Until next time;

go make someones day BEAUTIFUL!!!