Showing posts with label freezer paper. Show all posts

Wednesday, November 11, 2015

vintage Kitchen wall art. Roadside rescue cupboard doors, chalk paint and freezer paper


Need to quick dress up your house before Company comes for the HOLIDAY's?
Here is a quick and easy way!

I thought I would RESHOW you how to 
Repurpose some old cupboard doors 
with some paint and freezer paper to
make your own Kitchen ART.


Well its been so bright and sunny here in Michigan that I have been able to work outside again. One of the projects that I have been able to work on is my "FREE CUPBOARD DOORS" project. :)


(p.s. don't forget to hurry and enter the $150 Krink paint pen giveaway HERE..It ends March 24)

I scored a bunch of Free old cupboard doors off of C.L. and I had no idea what I was gonna do with all of them. So I took 5 of them and thought...I will just prep them and take it from there.

So I took off the hinges and handles filled the nail holes and then got out a couple different colors of my home made chalk paint. So I had blue and green and yellow cupboards drying in my driveway. 

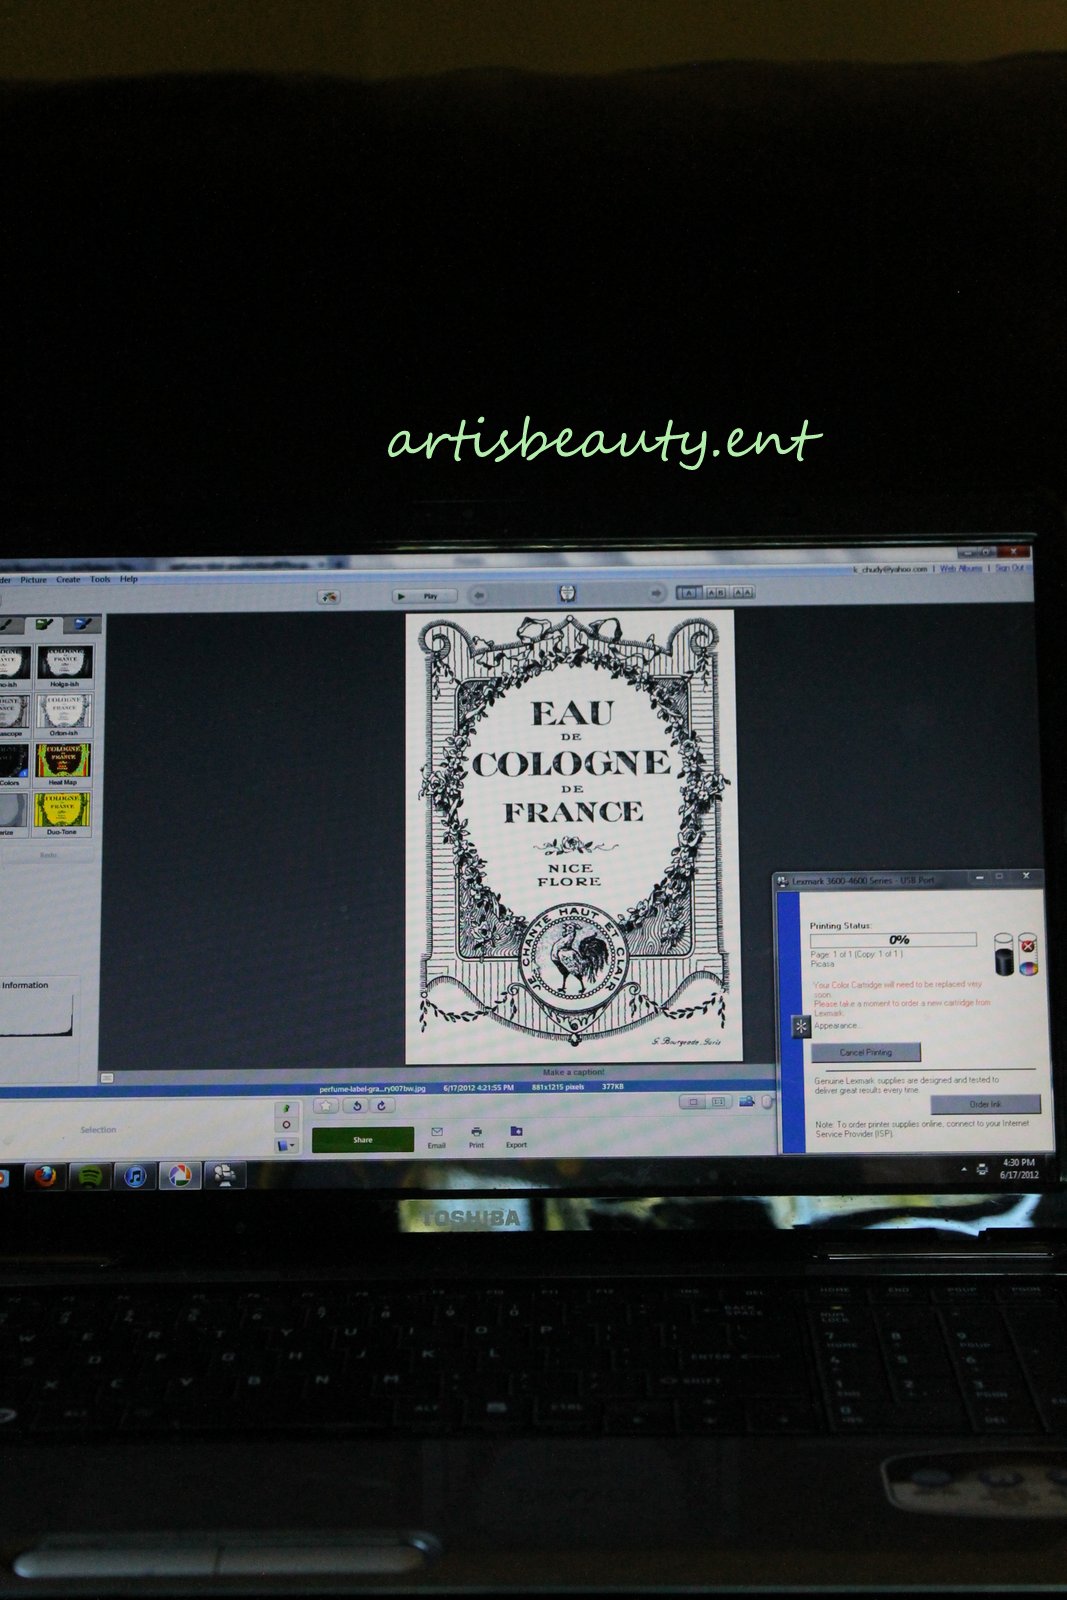
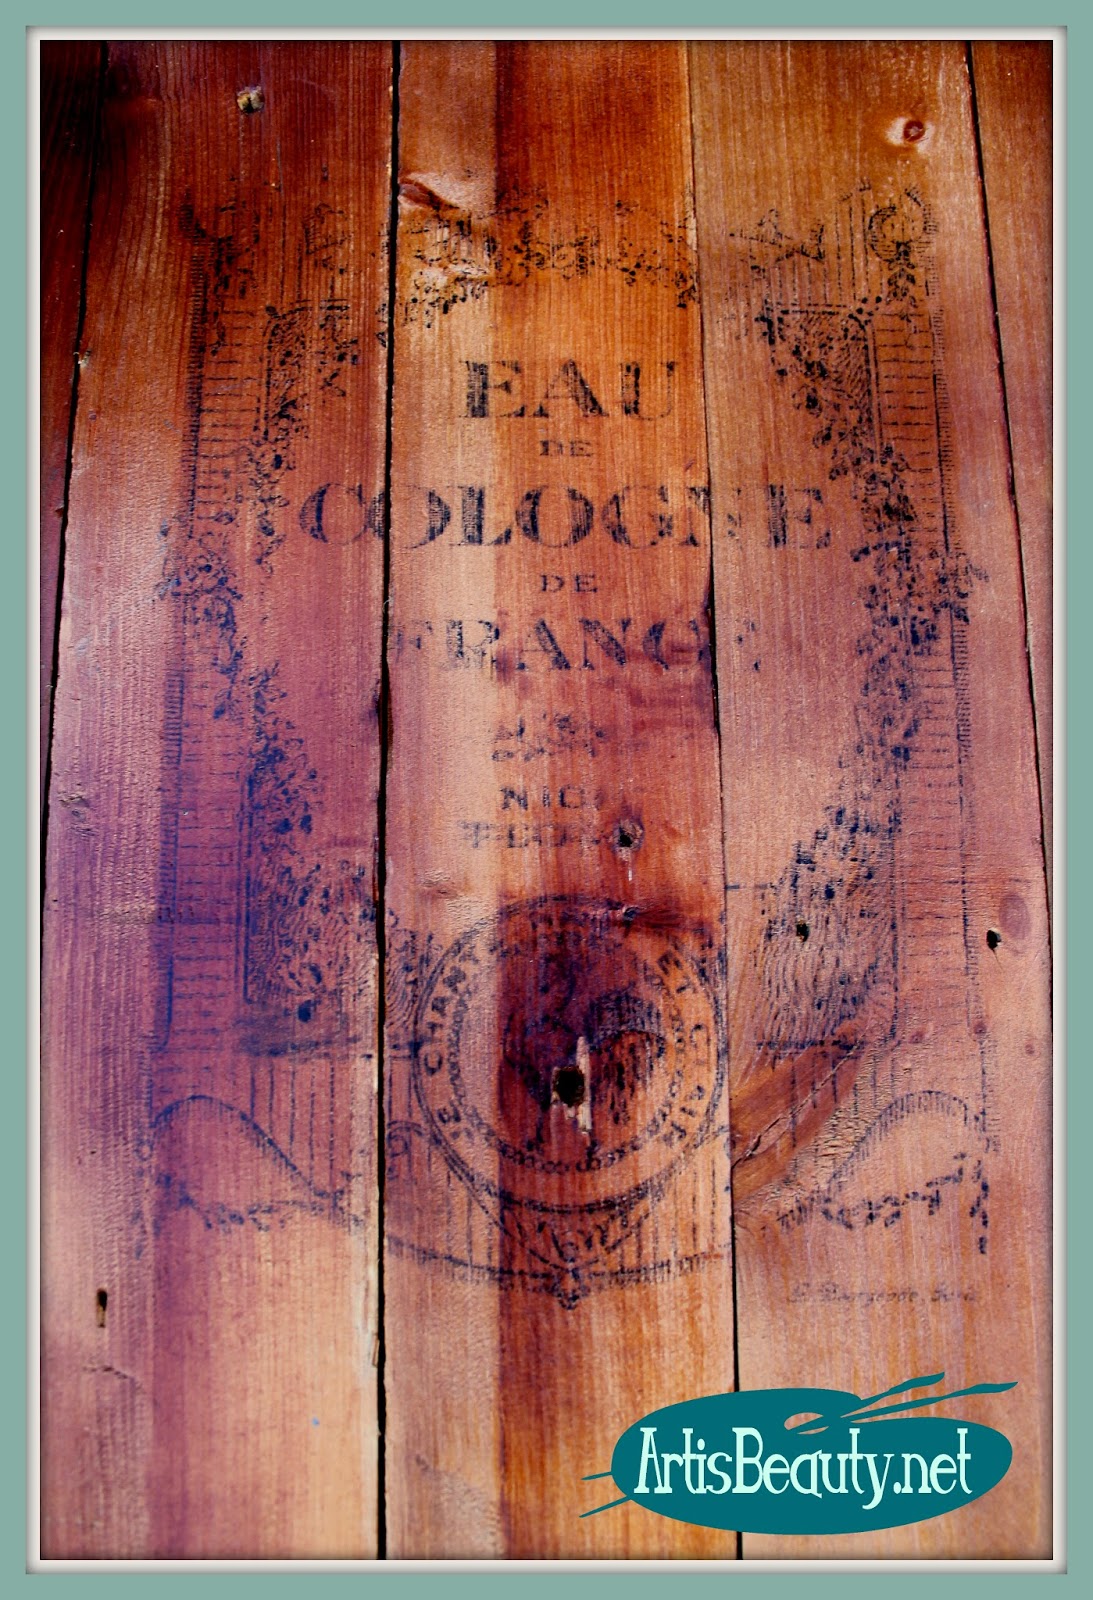
While I was waiting for them to dry I thought...These would be some great instant art with my freezer
Paper transfer. (you can see that HERE)
So I went on over to THE GRAPHICS FAIRY, and started printing of some of my faves and mixing and matching some that I liked.

when they were done, to keep the reuse effort going, I used some pop tabs as hangers. 

Here you can see all the different INSTANT ART I made for next to nothing.

I love the FRENCH SEWING ones

and I really love the instant kitchen art.  I hope you are inspired to
try and do some freezer paper transfers too..:)

I hope you have a BEAUTIFUL DAY.
Posted by Picasa


Thursday, December 4, 2014

FREEZER PAPER! It's not just for food! Favorite Projects using Freezer paper


This is a REPOST.
I figured you might be looking for Craft Ideas 
for how to make homemade gifts for your loved ones
this Christmas!
As I sit here freezing and have the long winter ahead of me,
I kinda wish I was packing for spring break 
like I was when I originally wrote this post :)
ENJOY!!!
Good Morning my Beauties!
I have been working my buns off trying to get ready for vacation.
We leave on Wednesday night for Spring Break and its a 24 hour straight
through drive. So while I wish I was working on
projects, I am instead packing 4 kids suitcases and my own.
So this Monday I will instead be showing a round up of
my favorite Freezer Paper projects.
Its not just for the FREEZER anymore.

One of my favorite things to do is to make Freezer Paper stencils.
Before I had my Silhouette cutter I hand CUT out these anchor stencils with and 
exacto knife.
You can see the full tutorial HERE
The next two of my favorite are Black and White Image transfers.
By far the easiest way to add a little Interest to 
pieces of furniture like this Shabby Chic Skeleton key Table.
You can see that Makeover Here
Or you can simply use them to make some INSTANT art
Like I did here with these old Repurposed Cupboard Doors.
You can see that post here
The most fun I had though was actually using them
for a colored transfer.
I transformed this simple pink vanity with
a couple cute vintage perfume graphics.
It was the perfect addition to add character to 
this  set.
You can see that Makeover HERE
Well I hope you enjoyed this and you try 
a freezer paper transfer some time!
I have to get back to doing laundry.
Wish me luck!!!

Now go and make someones day BEAUTIFUL.

Friday, October 10, 2014

Shabby Chic vintage Skeleton Key Table (freezer paper transfer)


Ah, one of my favorite types of projects!! Easy, fun and chic!! OHHH and CHEAP!! :)

Here you can see the tables all getting prepped...the one on the left was the peacock table...on the right the bike table

and in the middle was this baby!! She was only 4.99 at Goodwill and already with just a couple coats of white paint, she already
looks pretty as a picture.

But I knew I wanted something more...So I went and got my Freezer Paper to do a transfer...(you can find that tutorial in this past post HERE) I then went and got some of my favorite graphics from Ms. Karen over at THE GRAPHICS FAIRY, and got to work.
I loved the old skeleton keys and so I put three of them on top. Then I distressed the HECK out of to make extra SHABBY CHIC!

I sprayed the top with poly to protect the ink and now she is BEAUTIFUL! I just love the vintage keys with the vintage shabby table.


I hope you enjoyed this little project and have a BEAUTIFUL day!!

Posted by Picasa


Wednesday, July 30, 2014

How to Build your own Pallet end table with Freezer Paper Graphic Transfer


Good Morning my Beauties!
While we have been UBER busy with everything going on at our home
(you can read all about that HERE)
I thought I would show you a fun and easy way to make a FREE pallet art End table.

This right here is  free pallet wood and other scraps  from
out of my neighbors garage. They were happy to have me haul it away.
I knew just what I wanted to do with it.

Like I have said before...free stuff and power tools make my day...
I think my hubby was a little miffed at me because he wanted to build
the table. I usually give him some of these kinds of projects, but that's when he is pestering me to clean out the garage or something..It will usually get him off my case for a couple days...:)

So with a couple of cuts I started making my table.
I had watched my husband make our beautiful farm table for our fire pit last summer
so I knew kind of what I needed to do. You can see that table HERE.

First I made my apron and attached the sides together.

Then I added my legs.

Then I added the boards to the top.

then I just stained the top. I am painting the legs.

Now for the fun part.. freezer paper transfers.
First let me say how much  I LOVE the GRAPHICS FAIRY since she supplies such amazing free graphics.
 I went on her website there and got a nice FRENCHY one.

I printed my graphic out on my freezer paper in reverse. I have glued my freezer paper to card stock to make it easier to feed through the printer. Shiny side up so that you can transfer the ink.
 

Now the fun part...again..:)  Here is where I lay down my graphic and start burnishing it
with the back of a spoon. Now don't get frustrated with this. I hear from quite a few people that
they haven't had any luck, but practice makes perfect. 

You can see here the ink transferring to the table. I had to lay it back down a couple times
to make sure it came through enough; you just have to be careful not to move the paper
or it WILL smudge.

VOILA!!! A beautiful FREE FRENCH table.


I painted the legs with some paint I had. It was a mix of some  blue and cream color, to make a nice dusty blue.


I just love how it turned out; and the best part...FREE!!!

I hope you guys enjoyed this tutorial and find ways to make fun free stuff
for your home too.

Until next time, go make someones day BEAUTIFUL.
Posted by Picasa
 

Wednesday, January 29, 2014

Nauty Nautical Freezer Paper Stencil Throw pillows

 
This was my first ever Freezer Paper Stencil transfer.
I thought it was a fun NAUTY little tutorial. :) 

I had found these pillows last week at Goodwill

They were only $1.99.  and to my surprise when I unzipped them I found this nice tag..

Yup Pottery Barn pillows for $1.99. .....SCORE...

I loved the color and the texture of the pillow with the nice little muslin edging, BUT
I thought they lacked UMPHHH!!! So I googled how to make a freezer paper stencil.
Basically you cut a piece of FREEZER Paper the size of your printer paper.
You put the paper in your printer..Only one sheet at a time with the dull side for
the print side.  When the ink is dry you take and exacto knife and cut out your pattern.
The pattern I chose was this cute little anchor from THE GRAPHICS FAIRY.


When you are done cutting out the pattern you iron the shiny side down onto your fabric.
Make sure to seal your edges. 

When it cools you paint in your stencil I used a mix of acrylic and fabric paint,
because my fabric paint was too dark and I didn't want a totally stark white with my acrylic.
When the paint is dry you pull off your stencil. Then when the paint is totally dry you lay a cloth over
your painted area and use the iron to set the paint. 

When its done..This is what you get. I now have 2 very nauty Nautical pillows.
It was easier than I thought and I am now wondering why I waited so long to try this.
I hope you enjoyed it. I hope you all have a wonderful and safe Memorial Day.
Posted by Picasa
The Graphics FairyThe Southern InstituteTip Junkie handmade projectsyou are talking too much />”Craft
”How

The 36th AVENUE
http://www.craftyscrappyhappy.net/


http://salttree.blogspot.com/
Our Delightful Home
”How