Showing posts with label crafts repurpose. Show all posts

Monday, November 7, 2016

DIY Vintage Driftwood Shiplap Copper Christmas Signs.


wood joy and noel cut out words diy craft target

Welcome back my Beauties!
Its beginning to feel a lot like CHRISTMAS!!
Just kidding...its not..
and most likely this will be the ONLY Christmas decor post I do.
Plus I usually don't do them before Thanksgiving just on a personal principle but I will be gone for 2 weeks in Florida
closing down my moms house there, so we can sell it now that she is gone.
I figure I am not going to feel Real Christmasy when I get back 
from there and I will be getting home only a few days before Thanksgiving.
Being gone that long will also mean that I have to play MASSIVE catch up back home once I get back.
So that means I will be in Furniture painting BEAST MODE for the store. 
So there is you reasoning for my EARLY Christmas post.
(also if you could say a little prayer or send some good vibes my way, I am VERY VERY nervous and sad about closing down my moms house. If you have been following me all these years you know how many memories we have with my momma down there.
This will be the very first time I step on her porch and not have her there to hug me. It will also be the last time we see the place as it will be up for sale and will all take place while we are back home.)

Now that I got that off my brain, lets move on to the project. 
joy noel vintage driftwood shiplap diy craft christmas sign
You can see me here measuring how much room I would need for each word before I cut the boards. I used my AIRSTRIKE to nail the two ship lap pieces together.
Way back this summer, we were at our friends property on Lake Michigan. As is our usual we walk the beach looking for driftwood.
The kids run ahead and see if they can find any good pieces for MOM.  Well this year we found a bunch of sea grass rolled up in balls on the shore and in between them washed up were a bunch of broken pieces of vintage shiplap! Somehow they had floated ashore on the beach and I was glad to do a little beach cleanup and take the driftwood shiplap home with me.
When the kids asked me what I was going to do with it,
I casually said..."Oh, I will probably end up using them for Christmas signs" .

makita mitre saw vintage driftwood shiplap diy christmas signs joy noel coppe

Fast forward 4 months later and I am shopping at Target in the dollar spot and they have these cute little cut out wood "JOY" and "NOEL" signs for just a few bucks. 
My brain went into create mode and said.."SHIPLAP"
I got home grabbed my shiplap and got out my Mitre Saw
and cut them into the size I needed to fit the words.
devine color valspar radiant metals copper spray paint christmas signs joy noel vintage shiplad driftwood craft diy
Then I grabbed my copper spray paint and sprayed both of the words with it.
While those were drying I dry brushed my driftwood pieces so that the copper wording would pop.

ryobi airstrike brad nailer valspar spray paint diy christmas shiplap signs copper craft

Once everything was dry I used my Ryobi Airstrike nailer to attach them to the driftwood.
vintage driftwood shiplap copper joy christmas sign diy karin chudy artisbeauty craft airstrike
I love how the copper is so warm against the worn whitewashed ship lap.

Driftwood shiplap vintage copper noel christmas sign glitter sparkle home decor diy crafts
I had made these to sell, but I am kinda in LOVE with them,
and I am thinking I either need to make a few more or just keep it. 

noel and joy vintage driftwood shiplap christmas signs diy artisbeauty copper spray paint makeover airstrike nailer
 Here they are sitting on my mantle. 
Which honestly might be as decorated as it gets this Christmas.

driftwood vintage shiplap copper christmas joy noel signs handmade artsibeauty karin chudy spray paint dry brush
I hope you enjoyed this fun little Christmas Craft.
Hopefully, things go well in Florida.

Until next time, 
Go make someones day BEAUTIFUL.

Thursday, June 30, 2016

"HAPPY CAMPER" vintage window Summer Decor Vinyl Sign


This post uses affiliate links to help you find the products I trust and love


We are leaving for vacation so I thought I would hit REPLAY on one of my favorite summer craft projects from last year! ENJOY!

Good Monday Morning my BEAUTIES!!
We are in CRUNCH time here at the ART IS BEAUTY house...
(it seems we are always in CRUNCH time)
Never enough time and too much to do..
Hubby is re roofing the shed..(which I was was suppose to help with)
but then we both realized we leave for a family vacation in less than 10 days
and I had NOTHING for my booths.
I have been furiously working on furniture while he works on house projects..
OH and did I mention we are also suppose to paint our 2 story house within the next 10 days...
and yeah....I still haven't picked out a paint color yet..
Yeah..its how we ROLL....so while I was waiting for paint to dry
and working on other booth projects I thought...
"I will just quick sneak in a project for me"
Hah...no one would notice RIGHT????
Yeah he noticed....OH WELL..:)
If you remember I picked up a bunch of free windows over fathers day weekend.
I knew I wanted to make some projects with them and
just had to find the time to do them..
FUNNY....paint drying time is the PERFECT time..(especially when you don't feel like doing laundry)    :)

I cleaned up the windows and then had to decide what I wanted on them.
If you remember I made my Father in law a Wheel Cover for his camper
for Fathers day..
You can see that HERE.


I had liked the design so much and was trying to figure out how to incorporate it in the house.
The window was the perfect way.


I used my Silhouette to cut out my design with my vinyl 
and placed it onto my window.

I just love the VINTAGE feel that goes so well the window.
Normally Purple would not be a color I would choose,
but for some reason it just called to me.
I just loved it.
I hope you enjoyed this fun little project.
Be sure to come back tomorrow for the LINK party,
where you can show off all the goodies you have been working on.
Until next time..
Go make someones day BEAUTIFUL.

Wednesday, June 1, 2016

Easy DIY "WILD & free" home decor made from scrap wood.


This post uses affiliate links to help you find the products I trust and love


Welcome back my Beauties!
Today I am going to show you how to make an Easy DIY "WILD & free" home decor made from scrap wood.
I meant to put this post up a few days ago but my oldest is graduating and I seem to spend my days running in circles to get ready for all the different events.
Last night was her Honors Night and we couldn't be more proud.
Now all we have left is her actual commencement in a few days and then her party. 
I never knew how much work having a Senior was :)
ANYWHOO...

 This is the board I started with. 
It was actually a piece of an old 70s headboard. I popped the plastic parts off to expose the board.


 Next I grabbed a variety of stencils.
I grabbed my Wild and Free stencil and my laurel wreath stencil that I got on clearance.
I figured out how I wanted them laid out and got to work. 
 I base coated the board in 
Americana Chalky finish RELIC
and then went over it with Americana Chalky finish REFRESH 
Once both parts were dry I laid out my Laurel wreath Stencil and
my WILD and Free Stencil

I used the same RELIC paint to paint on my stencils.
Once they were all painted on, I distressed the whole piece and wiped some americana satin varnish on top to seal it.


and here it is all finished. I just love the gray and mint together.
Its one of my favorite color combos as you can see from my 
dresser makeover HERE  


I love the refreshing feel of the gray with the mint.
So there you have it ...
A new post that shows how even a gross old piece of scrap wood can be made Beautiful.
 Hopefully soon I will be back with another makeover for you.
If I can just get these darn kids to stop moving for a second. :)
Until next time,
Have a BEAUTIFUL day!
 

Tuesday, March 15, 2016

Super Easy "HELLO" Spring Pallet Art


 Welcome back my Beauties!
Spring is right around the corner (even though we have snow in our forecast for later this week).
I am in a Spring Decor Mode so I thought I would show you one of the SIMPLEST ways to make some fun spring pallet art.
First of all, grab some pallets. 
(If you don't have pallets you can always buy boards from the home store,
but you all know how much I love to rescue free stuff)
Lay out your pieces how you want them and then screw some brackets in the back
I just used my cordless black and decker drill to screw in my supports.


Once that is done, flip it over and give it a light wash of paint.
I chose a fresh light blue.
When its dry I lightly sanded the whole thing to give it a distressed finish.

Here is where the super duper easy part comes in.
See that little wood cut out "hello".
Its from the dollar spot at Target.
It was $3
I was looking at it and literally said to myself
 "HELLO, this is awesome!"

 I threw that sucker in my cart and brought it home.
I grabbed my Ryobi Airstrike Nailer 
and popped a couple nails in it and it was good to go.
(if you don't have a nailer you could easily use some heavy duty glue or even use a regular hammer and nails)
Once secured to the pallet I gave the "hello" a quick little dry brushing to give it a little more interest and my "HELLO" spring pallet was ready for my mantle.

 I have to tell you, this was probably the EASIEST project I have ever done. It literally took me about
10 minutes not counting dry time.
I just love it on my mantle with my Easter bunny bunting from the same dollar spot at Target.
 I hope you enjoyed this latest little repurposing project and I hope SPRING is on its way to where you live.
Until next time,
Have a BEAUTIFUL day!

Wednesday, March 9, 2016

Easy DIY Beachy Pallet Art ~Home Expert Series


 Welcome back my Beauties!
Its time for another edition of 
Today I will be showing you how to take a pile of  FREE Pallets...
And turn them into some Easy DIY Beachy Pallet art!
So come on over and see how to create some of your own! 
See you there!

Monday, December 21, 2015

Something to Talk About LINK Party and Features


Welcome back to Something To Talk About Link Party #48! We hope you had a fabulous weekend and are so glad that you are here visiting and linking up with us today.
new graphic cropped
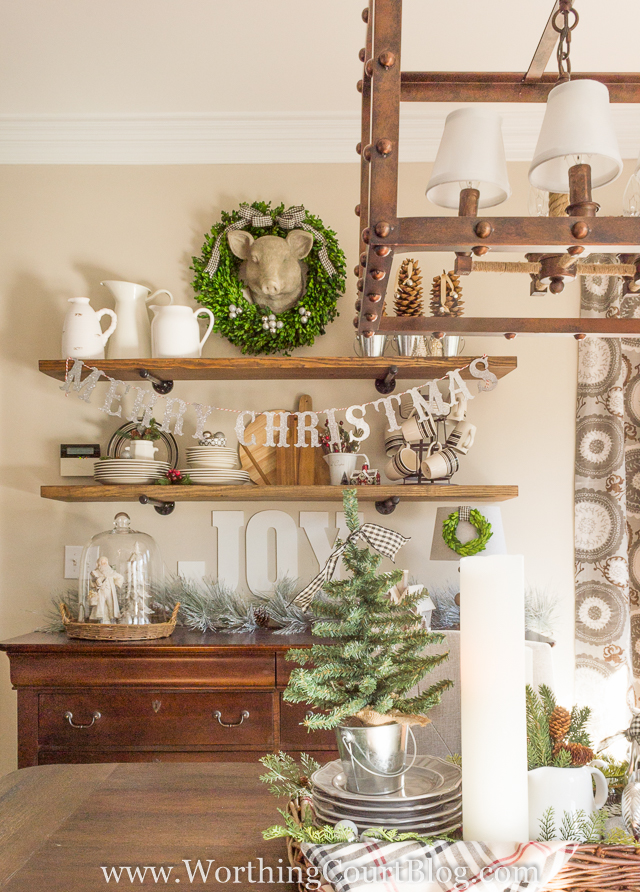
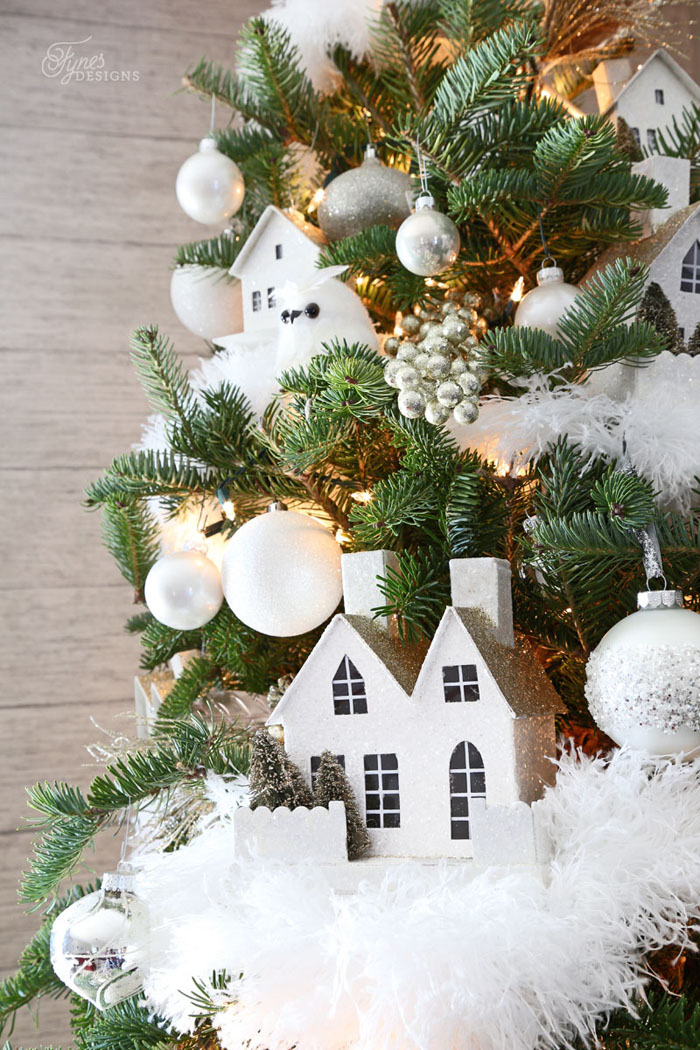
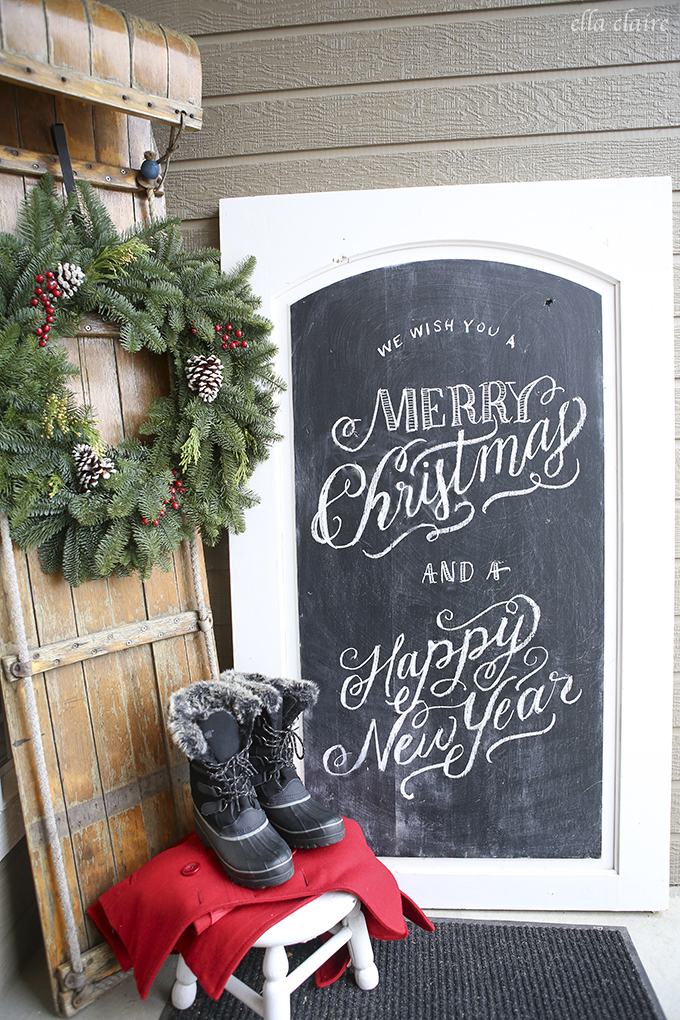
This week, Vicki and Jennifer from 2 Bees in a Pod have chosen our top six features:
1-141
village-house
 IMG_5057-copy
Holiday-Christmas-home-tour-hawthorne-and-main-2015-port34
 bath-salts-ornaments-young-living-essential-oils-square2
Pomegranate-Mimosa-4WM
We would love to connect with you on social media!
Vicki and Jennifer from 2 Bees in a Pod || Facebook || Instagram |Pinterest || Twitter
CoCo from The Crowned Goat || Facebook || Instagram || Pinterest
Angie from Spain Hill Farm || Facebook || Instagram || Pinterest || Twitter
Karin from Art is Beauty || Facebook || Instagram || Pinterest || Twitter

Party Rules…please don't link and run :

  • Link to a specific blog post from your blog - not your blog homepage. All photos must be your own.
  • You may link up to 3 posts.
  • Follow your hosts and have a visible link back to your party host. This is mandatory to be featured.
  • Leave a comment for your host.
  • By submitting a link, you’re giving us permission and granting us the right to feature your project and photos on this blog, website and on social media. Proper credit and a link back to your post will always be given. We are not responsible for stolen images or the misuse by others who have found your image through ours.
  • Each week, 6 of our favorites will be featured on all six of our blogs. Features will also be pinned to our Pinterest Party Board for even more exposure!

Thank you so much for linking up!

Party graphic 2

Monday, September 7, 2015

Something to TALK About LINK Party and FEATURES!


Happy Labor Day My Beauties!~

Its time to LINK up!

Come see who is Featured this week.


If you’re not familiar with the link party – this is how it works. Our party kicks-off at 6:00 AM Est. every Monday morning and runs until Thursday at 5:00 PM. Throughout the next few days, many bloggers will link up their favorite crafts, diy projects, recipes and more – you’ll get to see it all below, loads of inspiration at it’s BEST.  Just press the links and it will direct to that bloggers post. Be sure you come back again in a few days to see what everyone is sharing, as more posts get linked each day!
If you’re a blogger we are so excited for you to join us! It’s a great way to make some new friends and share your creative ideas throughout the week, and on Social Media too.
Lets get this party started!


What I have been working on.

 Last week was crazy.

I revealed my Estherbelle Blue Makeover and

put up the Recap for the MidWest DIY blogger roundup

You can see that post HERE

 Lets see what you Have been working on!


Most Clicked Features

Rustic and Woven - Antique Dough Bowls
Canary Street Crafts - Drop Leaf Coffee Table


 My feature Picks!
 
This awesome Wall Art from Made in a Day!


and this Beautiful Vintage dresser makeover by 
The Interior Frugalista!

 
We would love to connect with you on social media! 


Vicki and Jennifer from 2 Bees in a Pod || Facebook || Instagram |Pinterest || Twitter 
CoCo from The Crowned Goat || Facebook || Instagram || Pinterest
Karin from Art is Beauty || Facebook || Instagram || Pinterest || Twitter


Party Rules…please don't link and run :) 
1  Please link to a specific post on your blog, not your blog's home page. You may link up to 3 posts!
2  Please leave a comment for your host.
3  Cultivate new relationships…visit a couple of blogs and leave comments.
4  No Etsy stores, giveaways or link parties.
5  We would love a link back to one of our blogs with a text link or party button.

6. By submitting a link, you’re giving us permission and granting us the right to feature your project and photos on this blog, website and on social media.  Proper credit and a link back to your post will always be given. Art is Beauty is not responsible for stolen images or the misuse by others who have found your image through 2Beesinapod.com
.
7 Each week, a few of our favorites will be featured on all five of our blogs.  Features will also be pinned to our Pinterest Party Board  for even more exposure! 

 
If you’re featured grab a button:
To make it easy, feel free to copy and paste this right into your post and or grab the button:
I’m linking up to the Something to Talk About Link Party today.  Go on over and see all the fabulous diy, crafts, furniture makeovers and more.


p.s.  Don’t forget to leave a comment, visit a few others and link back please.
  Thank you so much for stopping by and have a fabulous day, Lisa
 
 Now please link up 3 of your best of favorite projects, crafts, recipes diy and more